Winter Amigurumi
Color Palette

This version features an elegant and harmonious blend of tones. It begins with white for a crisp foundation, followed by black to provide a bold, sophisticated contrast. Red adds a vibrant energy, while orange introduces a warm, sunny glow. Brown brings a grounded, earthy stability to the mix, and green completes the palette with a refreshing, natural touch. Together, these colors complement one another beautifully, balancing bright pops of intensity with deep, muted neutrals to create a cohesive and polished look.
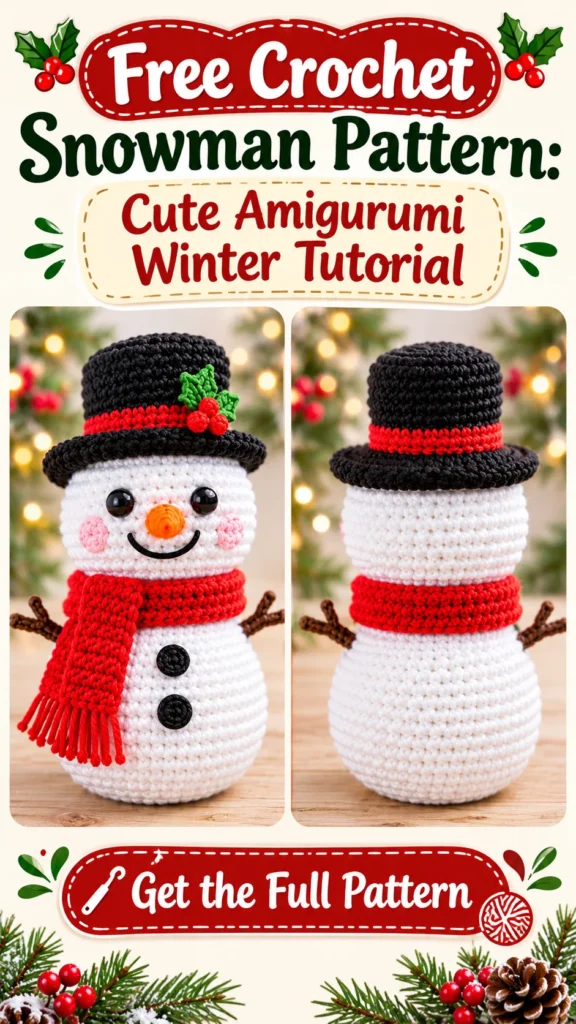
Handmade Crochet Snowman: A Full Amigurumi Guide
Add a touch of winter charm to your home using this crochet snowman pattern. This project features a white body and head, a black top hat, and a red scarf. To complete the look, the figure includes brown branch arms, an orange nose, two black buttons, and a green holly leaf accented with red berries.
All assembly steps and stitch counts provided here are based on the reference image. For those who love creating characters, check out the Amigurumi section or look through additional free crochet patterns.
Requirements, Guidelines, Final Dimensions, and Gauge
Rather than being a mandatory rule, the provided gauge serves as a general sizing reference for this crochet snowman pattern.
Gather every necessary material prior to starting the crochet snowman pattern.
Required Supplies

- Worsted-weight yarn: white for body, black for hat, red for scarf, orange for nose, brown for arms, green for holly leaf, and red for berries
- 2.5–3.0 mm crochet hook
- 10 mm safety eyes
- Black embroidery thread
- Fiberfill stuffing, yarn needle, stitch marker, and scissors
The final size of the seated snowman is roughly 23 cm (9 in). The gauge, when employing a 2.5 mm hook, is 18 sc × 18 rows = 10 × 10 cm (4 × 4 in). While the final dimensions will be influenced by your gauge, it is not strictly critical.
Review the entire pattern before you begin. Stuff the piece firmly during construction, mark the start of every round, and work in continuous rounds unless otherwise indicated.
US Terminology
mr magic ring · ch chain · sc single crochet · inc increase · dec invisible decrease · hdc half double crochet · dc double crochet · sl st slip stitch · BLO back loop only · FO fasten off.
Crafting the Snowman’s Body and Head
To create the two white forms, this pattern utilizes a combination of straight rounds, increases, and corresponding decreases, all while being stuffed firmly.
Head — white
- R1: 6 sc in mr (6)
- R2: inc ×6 (12)
- R3: (sc, inc) ×6 (18)
- R4: (2 sc, inc) ×6 (24)
- R5: (3 sc, inc) ×6 (30)
- R6–R10: sc around (30)
- R11: (3 sc, dec) ×6 (24)
- R12: (2 sc, dec) ×6 (18)
- R13: (sc, dec) ×6 (12)
- R14: dec ×6 (6)
- FO and close the hole.
Body — white
- R1: 6 sc in mr (6)
- R2: inc ×6 (12)
- R3: (sc, inc) ×6 (18)
- R4: (2 sc, inc) ×6 (24)
- R5: (3 sc, inc) ×6 (30)
- R6: (4 sc, inc) ×6 (36)
- R7–R12: sc around (36)
- R13: (4 sc, dec) ×6 (30)
- R14: (3 sc, dec) ×6 (24)
- R15: (2 sc, dec) ×6 (18)
- R16: (sc, dec) ×6 (12)
- R17: dec ×6 (6)
- FO and close the hole.
Constructing the Branch Arms, Scarf, and Hat
Detailed guidance for creating the two branch arms and all three winter-themed accessories is provided within this crochet snowman pattern.
The traditional winter personality of the crochet snowman pattern is derived from these specific accessories.
Top hat — black
- R1: 6 sc in mr (6)
- R2: inc ×6 (12)
- R3: (sc, inc) ×6 (18)
- R4: (2 sc, inc) ×6 (24)
- R5: (3 sc, inc) ×6 (30)
- R6–R8: sc around (30)
- Change to BLO.
- R9–R12: sc around (30)
- R13: (3 sc, dec) ×6 (24)
- Brim R14: 2 dc in each stitch around (48)
- R15: sl st around (48)
- FO and weave in all ends.
red Scarf
- Ch 7.
- Rows 1–90: hdc in the second chain from the hook and each chain across (6).
- FO and weave in the ends.
- Add fringe if desired.
Arms — make 2 in brown
- R1: 6 sc in mr (6)
- R2–R10: sc around (6)
- R11: fold in half and sc 3 stitches through both layers to close.
- At the top, split into 3 branches.
- Branch: ch 4, sl st in second chain from hook, sl st, sl st into arm.
- Repeat for the other 2 branches.
Crafting the Berries, Holly Leaf, and Nose
To complete the snowman, create the small accent details using red, green, and orange yarn as specified.
Nose (Carrot) — orange
- R1: 4 sc in mr (4)
- R2: inc ×4 (8)
- R3: (sc, inc) ×4 (12)
- R4–R6: sc around (12)
- R7: (sc, dec) ×4 (8)
- R8: dec ×4 (4)
- FO, leave a long tail for sewing.
Holly leaf and berries
- Holly leaf: ch 7.
- Row 1: sc, hdc, dc, hdc, sc, sl st.
- FO, leave a long tail for sewing.
- Berries — make 3 in red.
- Berry R1: 6 sc in mr (6)
- Berry R2: sc around (6)
- FO, leaving a long tail for sewing.
Guide to Putting Together Your Crochet Snowman
From the placement of the safety eyes to the addition of the final holly decoration, follow these steps to assemble the crochet snowman pattern.
Step 1: Attach the safety eyes
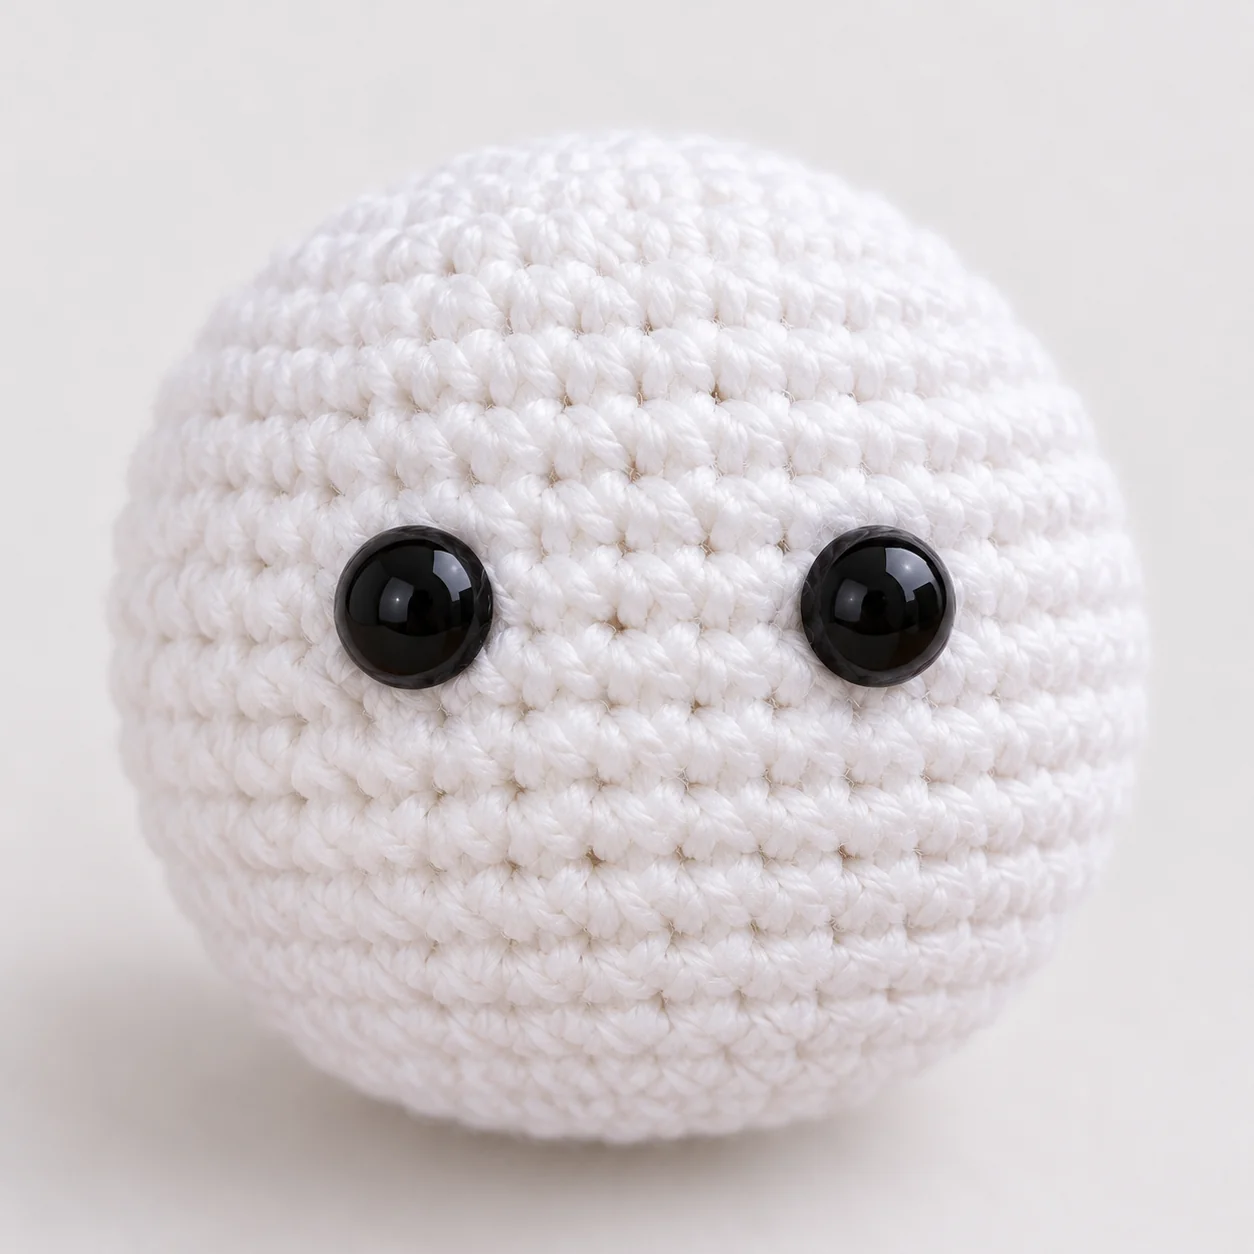
Attach the safety eyes between rounds 7 and 8.
Step 2: Embroider the smile and add blush
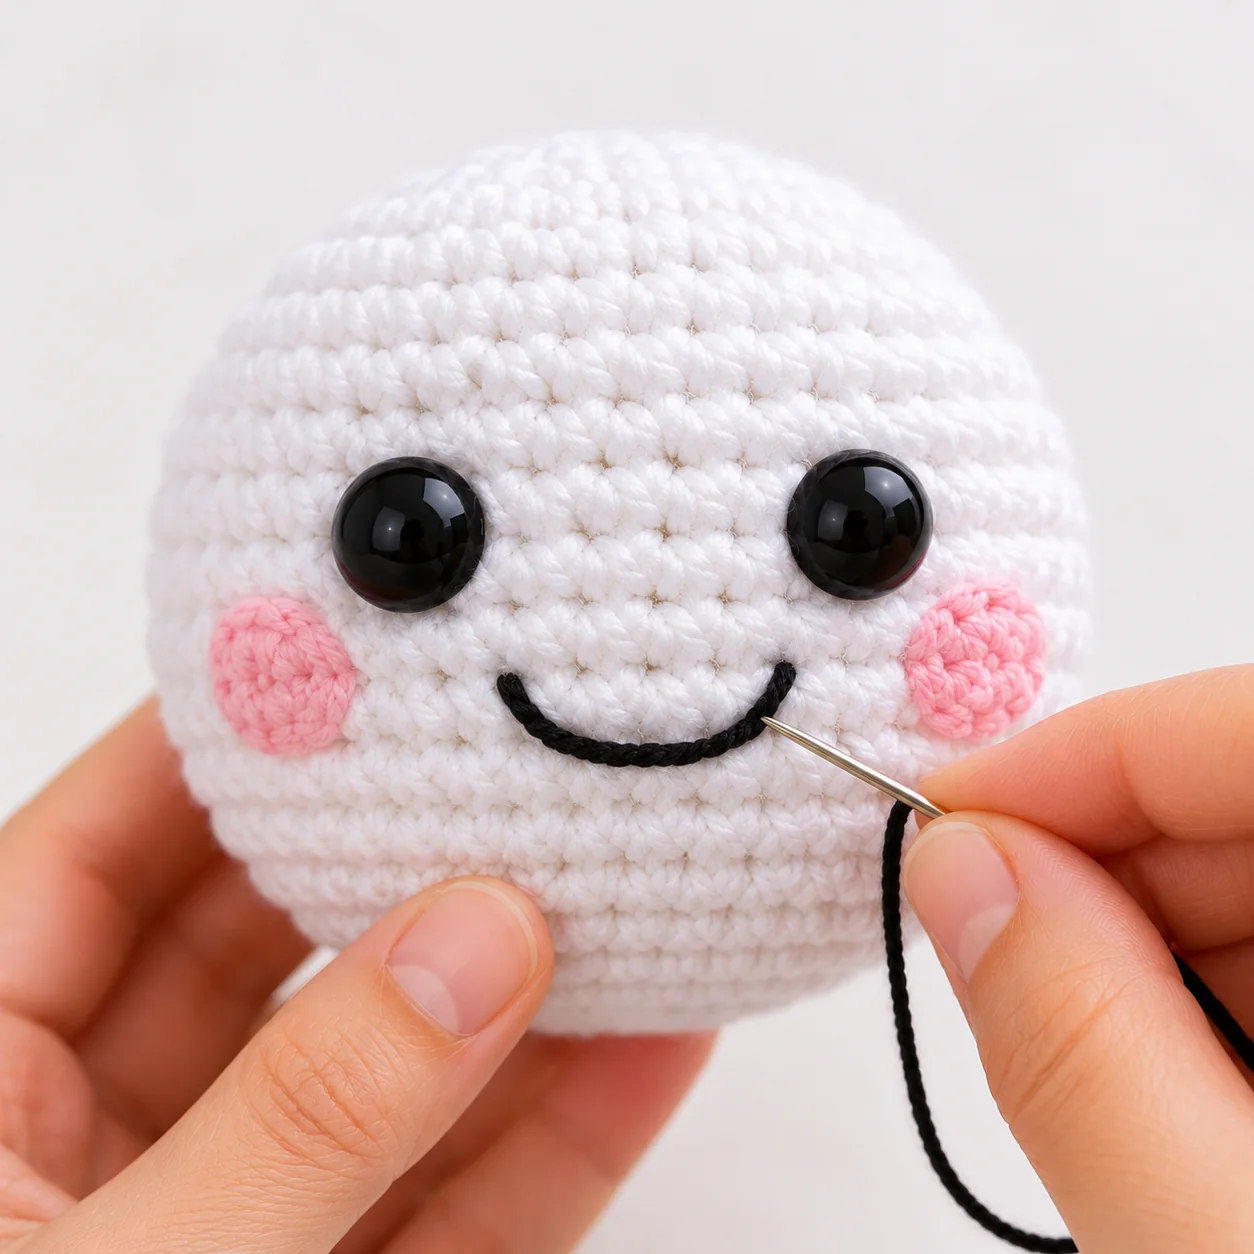
Embroider the smile with black thread and add blush to the cheeks.
Step 3: Sew on the nose
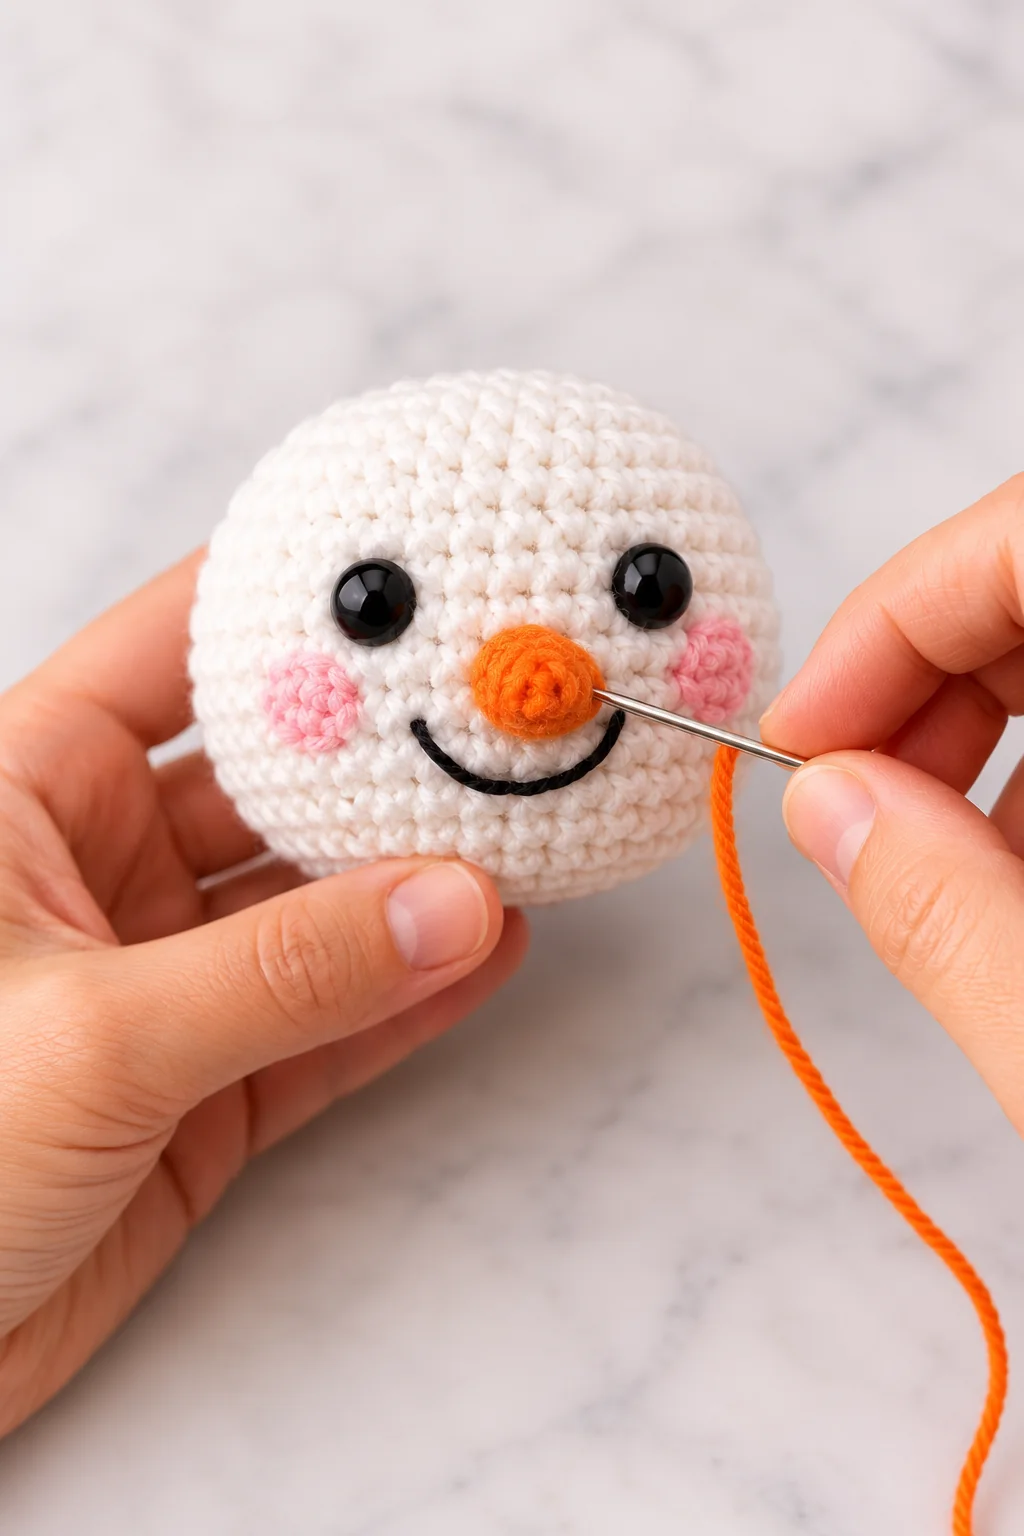
Sew the orange nose in the center of the face.
Step 4: Join the head and body
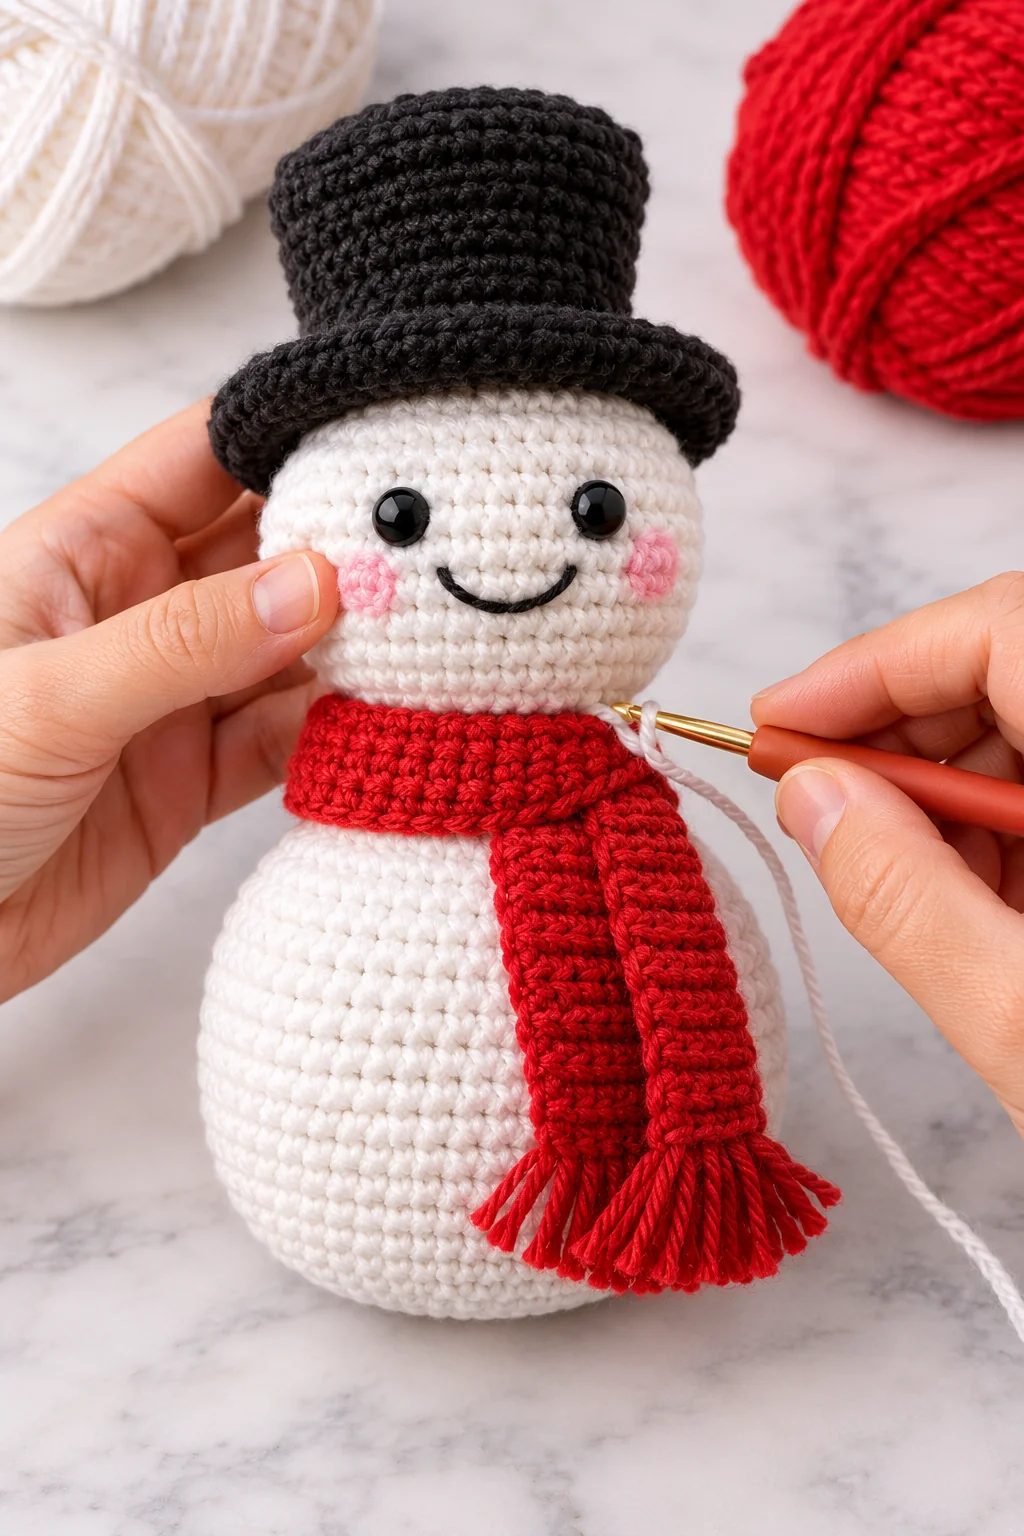
Place the head on top of the body and sew securely.
Step 5: Add the buttons

Sew the buttons onto the front of the body.
Step 6: Insert and sew the arms
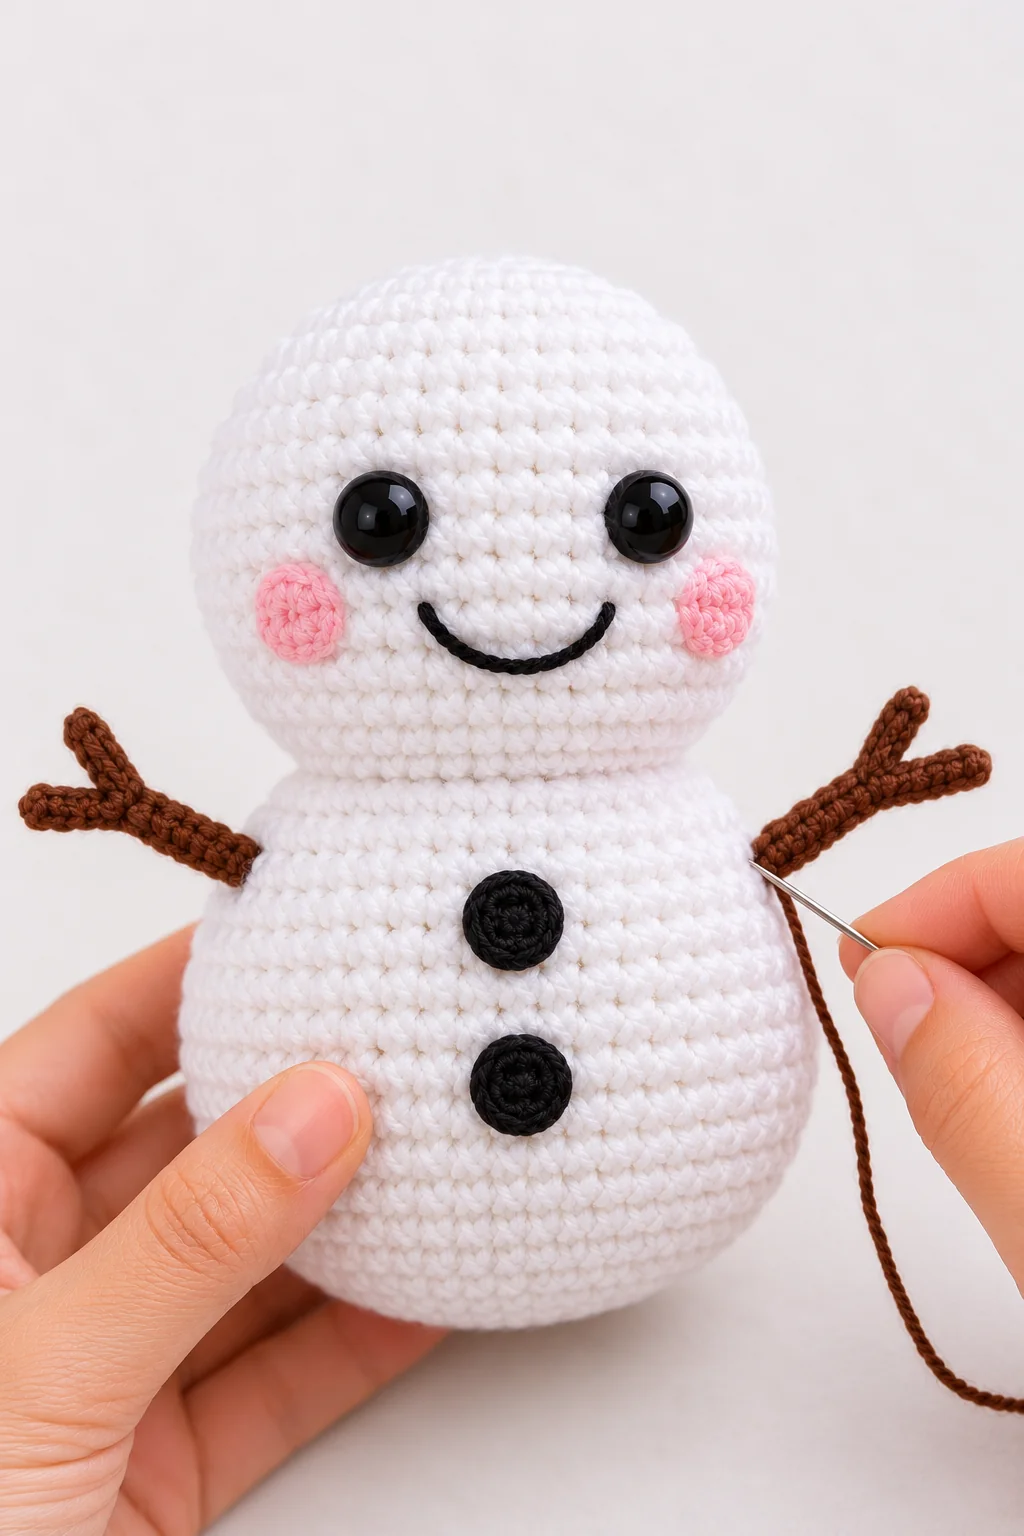
Insert the branch arms into the sides and sew them securely.
Step 7: Place the hat

Place the black top hat on the head and secure it.
Step 8: Wrap the scarf

Wrap the red scarf around the neck.
Step 9: Attach holly and berries
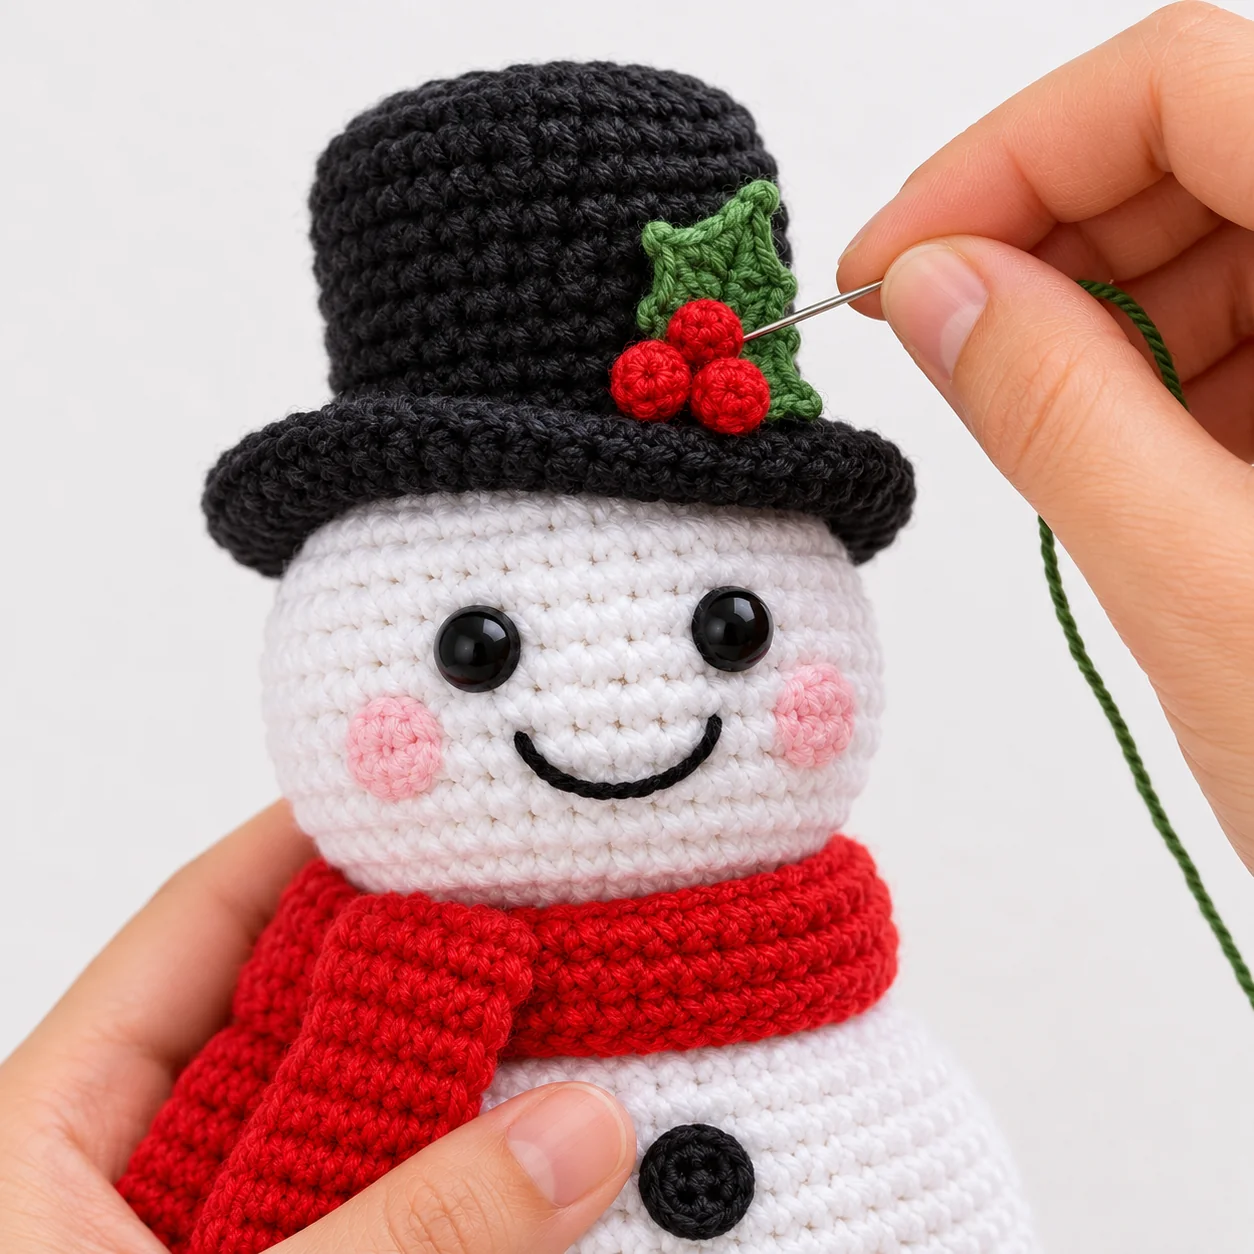
Sew the green holly leaf and three red berries onto the hat.
Step 10: Your snowman is ready.
You Did It!

Congratulations on finishing your adorable crochet snowman! Take a moment to look at the final photo to compare your work’s overall shape and those charming close-up details. Enjoy your cozy new winter friend!
Tips, Color Ideas, and Care
The crochet snowman pattern supports all five color ideas without changing the supplied stitch counts.
Use stitch markers to keep rounds even, stuff firmly for a round shape, tighten stitches to avoid gaps, and add a little weight in the bottom for extra stability.
The supplied color ideas are Classic, Blue Winter, Green & Red, Pastel, and Rustic. Change the hat and scarf colors while keeping the same crochet snowman pattern.
Maintenance Guide
- Hand wash in cold water.
- Do not bleach.
- Dry flat.
- Do not tumble dry.
Finishing Your Custom Snowman
You have now finished all the assembly steps and individual parts required by this crochet snowman pattern.
Browse the full store, find more free patterns, or look through other amigurumi projects.