
Color Palette
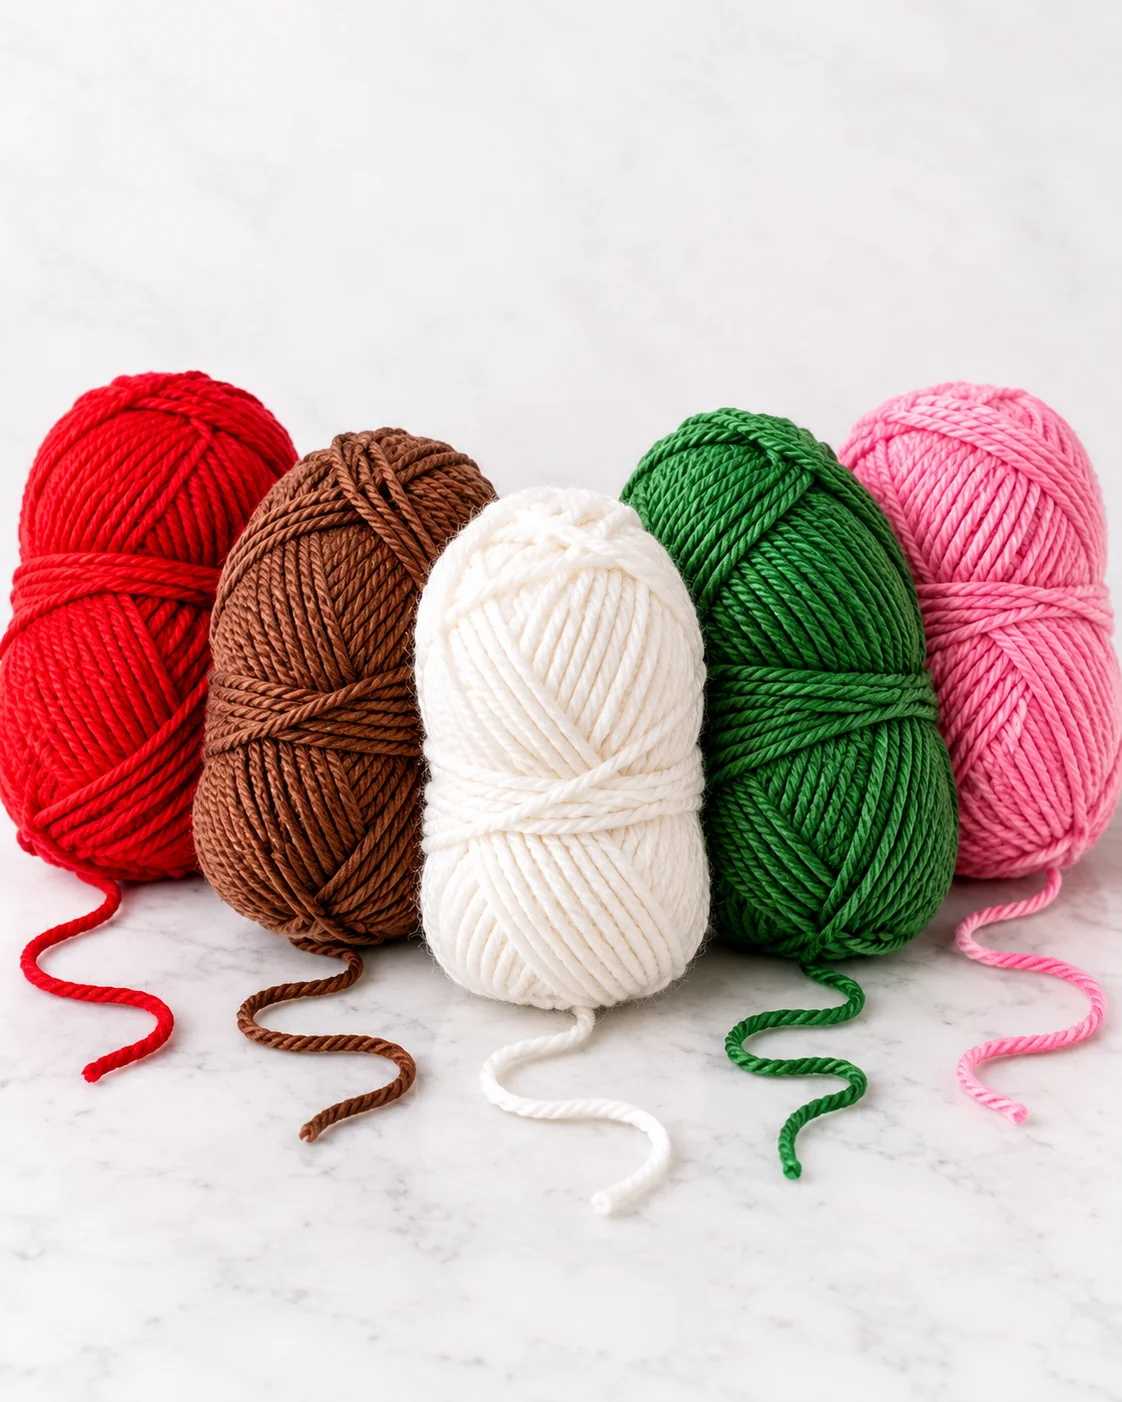
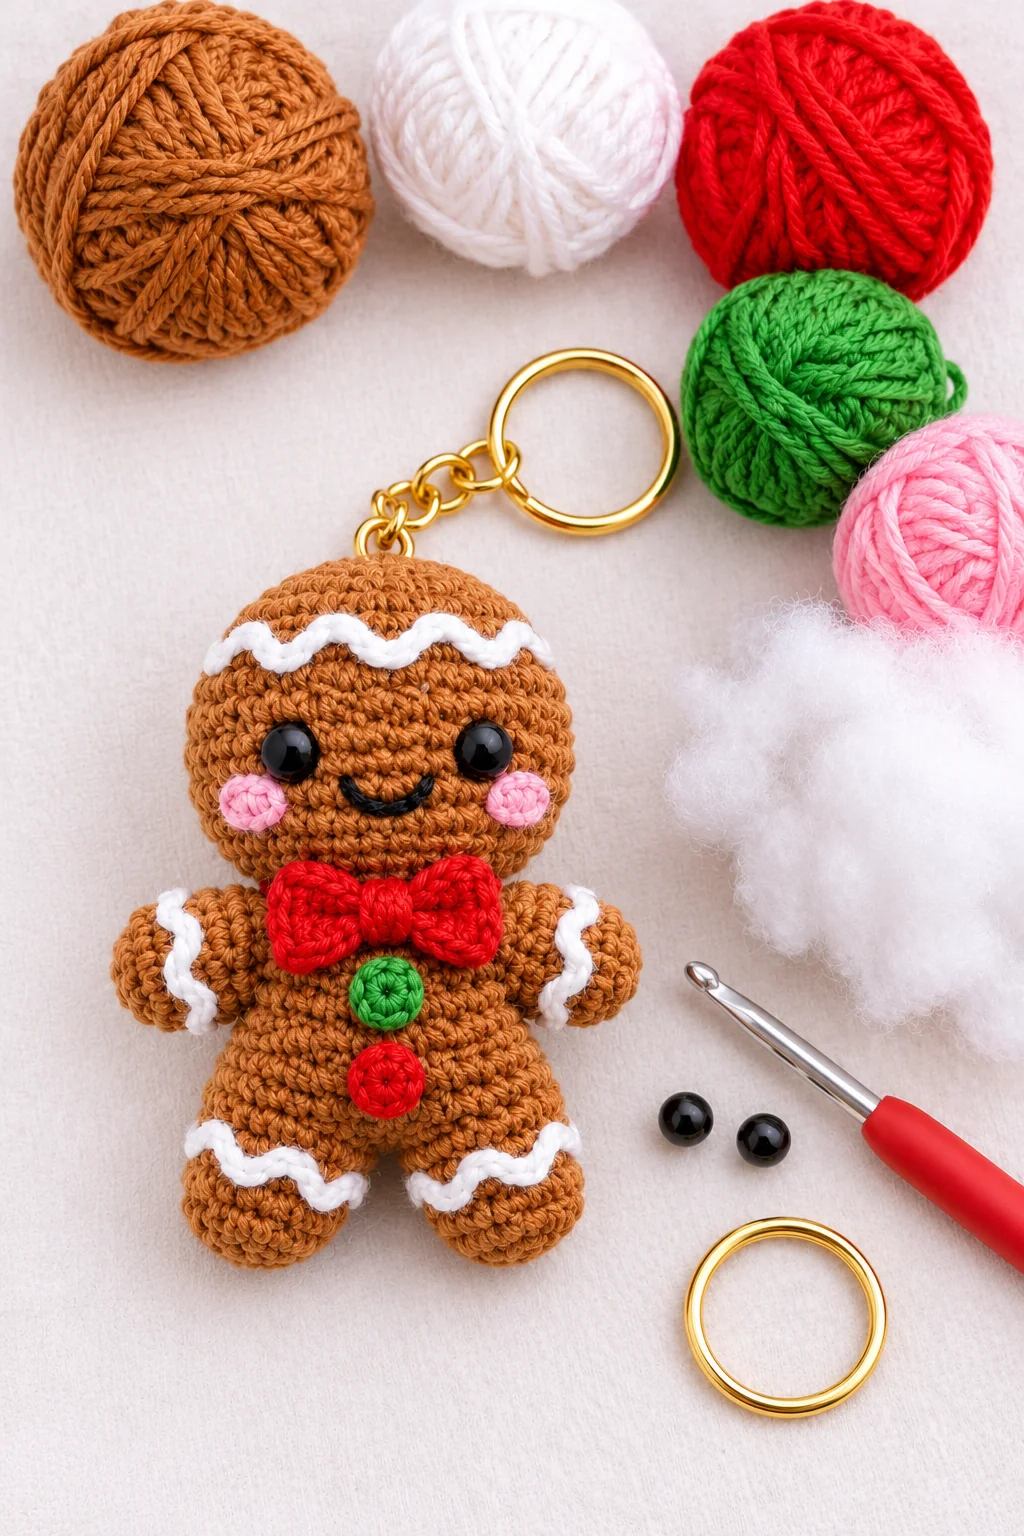
This version features an elegant and harmonious blend of tones. Red provides a bold energy, which transitions into a grounding Brown. Pure White adds a crisp, clean brightness that balances the deeper shades, while Green introduces a refreshing, natural touch. Finally, Pink brings a soft, romantic glow to the arrangement. Together, these colors complement one another beautifully, moving from vivid warmth to serene lightness to create a sophisticated and balanced visual flow.
Introduction
If you need a simple, fast crochet craft for festive gifting, this mini crochet gingerbread keychain is an ideal choice. Using only scrap yarn, you can complete this project in roughly an hour. The finished piece features a plump gingerbread man adorned with two small buttons, a red bow, and icing that looks piped on. Because the design consists of two flat sections that are stuffed and stitched together at the perimeter, there is no need to struggle with attaching separate legs or arms. Even beginners can easily create the icing using a basic wavy chain. These make wonderful additions to gift tags, stockings, or keychains for everyone on your holiday list.
Required Supplies
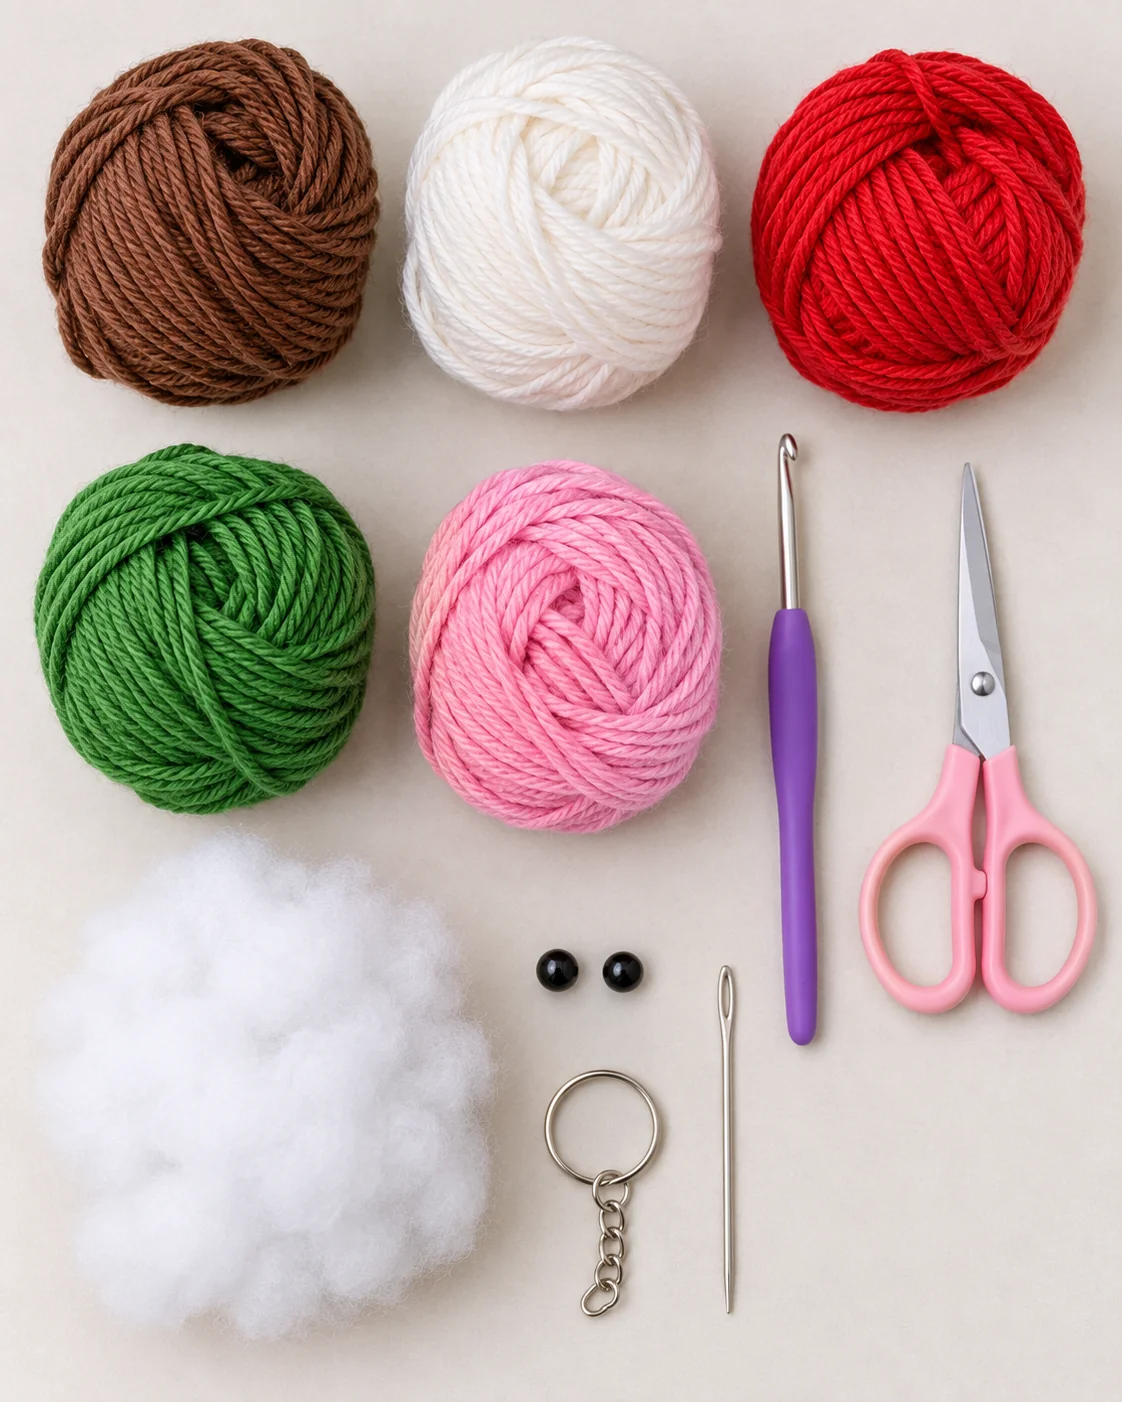
- Worsted weight cotton yarn (or acrylic yarn): Brown (body), White (icing), Red (bow & button), Green (button), Pink (cheeks, optional)
- Crochet hook (2.5 – 4 mm)
- Stuffing (fiberfill)
- Safety eyes (6 mm)
- Yarn needle
- Scissors
- Keychain with ring and chain
Alternative Options: While acrylic yarn is acceptable, cotton is suggested to help the item maintain its shape. If you prefer not to use safety eyes—which is a safer option for infants—you can embroider eyes using French knots. For the cheeks, felt circles are a quick alternative to yarn. Additionally, a lobster clasp or split ring salvaged from an existing keychain can be used instead of purchasing a new one.
Dimensions & Duration
The completed item stands roughly 6–7 cm (2.5–3 in) in height. Total production time is estimated at 60–90 minutes, which includes 15 minutes for assembly, 15 minutes for the details and icing, and approximately 30 minutes to create the two body sections. Because each side of the body is crocheted flat as a single piece rather than joining six individual components, this process is quicker than typical amigurumi keychains.
Key (US Terminology)
| ch | chain |
| sc | single crochet |
| inc | increase (2 sc in same st) |
| dec | decrease (sc 2 together) |
| hdc | half double crochet |
| dc | double crochet |
| sl st | slip stitch |
| st | stitch |
| rnd | round |
| BLO | back loop only |
| FLO | front loop only |
| [ ] | repeat instructions |
| ( ) | total stitch count |
Required Components
- Body — make 2 (front and back)
- Bow — make 1 (red)
- Buttons — make 2 (1 red, 1 green)
- Icing (white) — make 4 (head, arms, legs)
Detailed Body Instructions
Step 1: Start the Head

Rnd 1: 6 sc in magic ring
Rnd 2: 6 inc (12)
Rnd 3: (sc, inc) x 6 (18)
Rnd 4: (2 sc, inc) x 6 (24)
Rnd 5–8: 24 sc
Stuff firmly.
Pro tip: stuff the head firmly — the pattern’s own advice — because a squishy head makes the safety eyes sit crooked.
Step 2: Make the Body
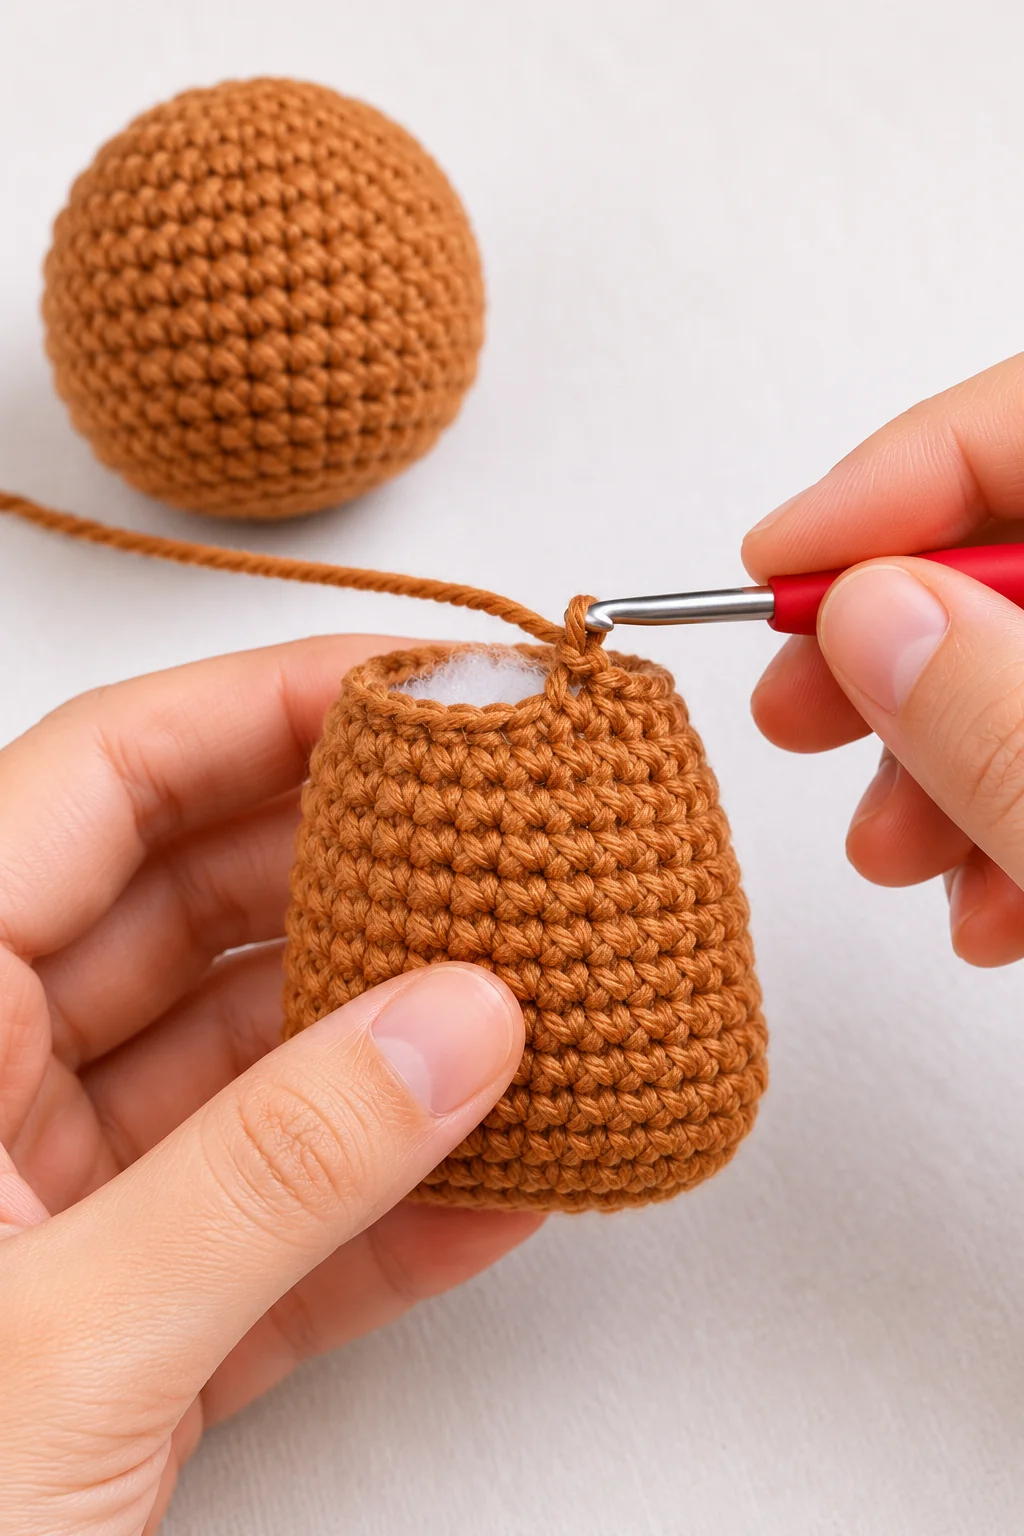
Rnd 9: 18 sc
Rnd 10: (2 sc, dec) x 4 (20)
Rnd 11–13: 20 sc
Rnd 14: (3 sc, dec) x 4 (16)
Rnd 15: 16 sc
Stuff the body.
Pro tip: count at the end of every decrease round. On a piece this small, one missed decrease shows up as a lopsided tummy.
Step 3: Add Arms and Legs
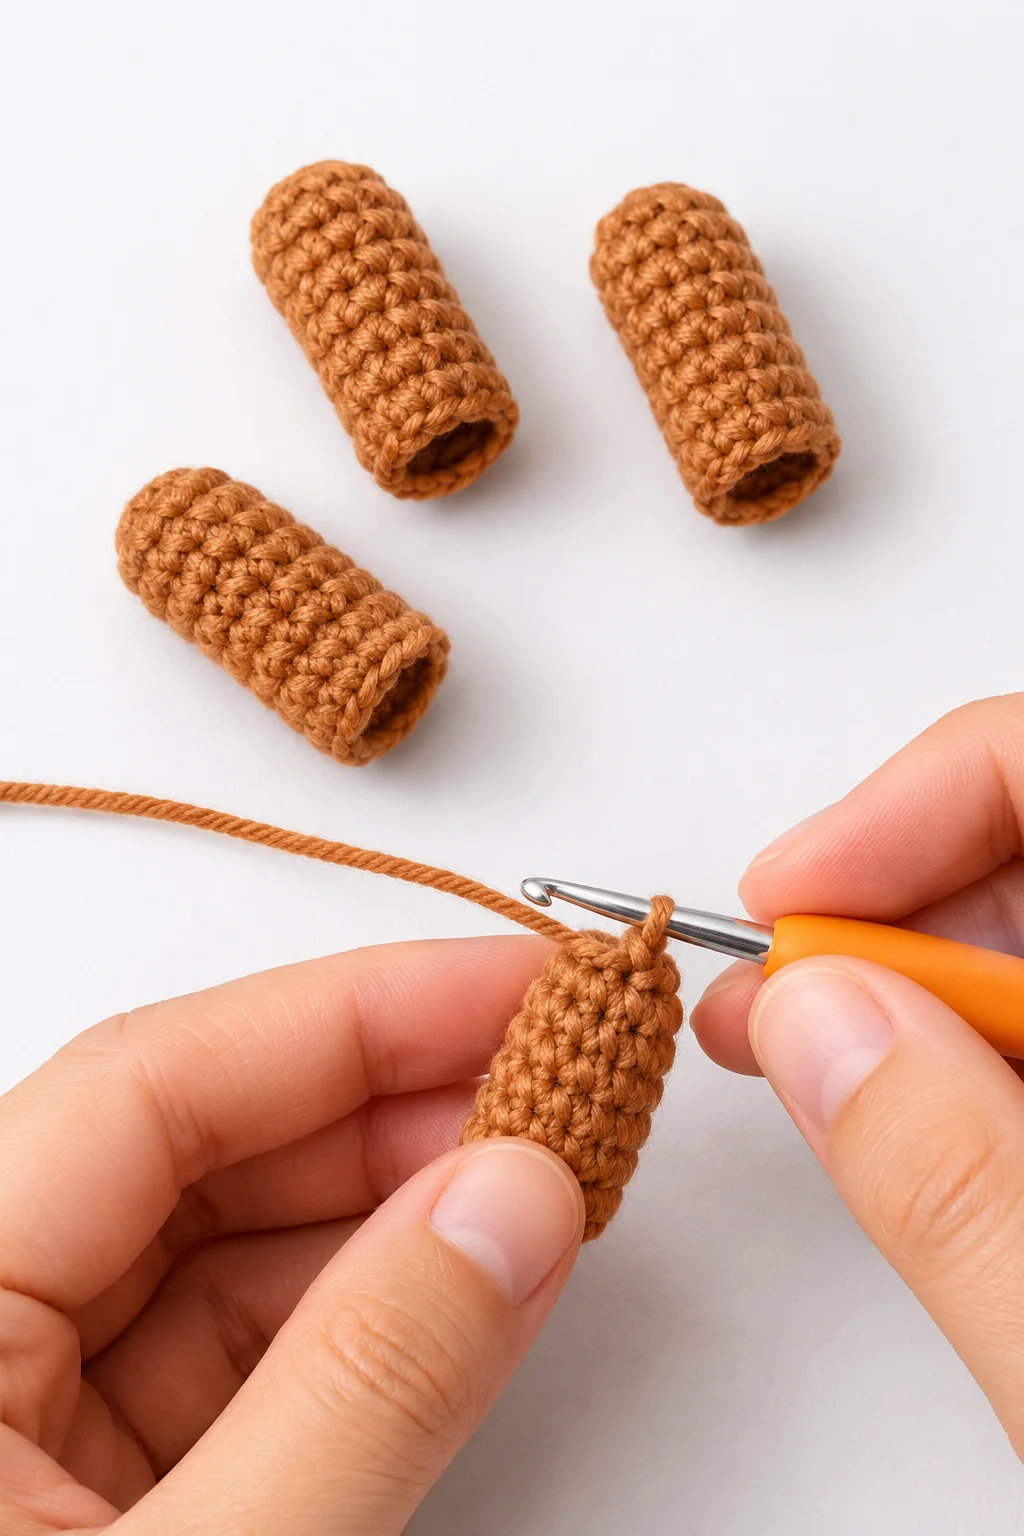
Arms: 6 sc in magic ring (6), rnd 2: 6 inc (12), rnd 3–4: 12 sc. (Make 2)
Legs: same as arms. Stuff lightly.
Pro tip: stuff the limbs lightly only — over-stuffed arms stick straight out like a traffic policeman instead of hugging the body.
Step 4: Embroider the Icing
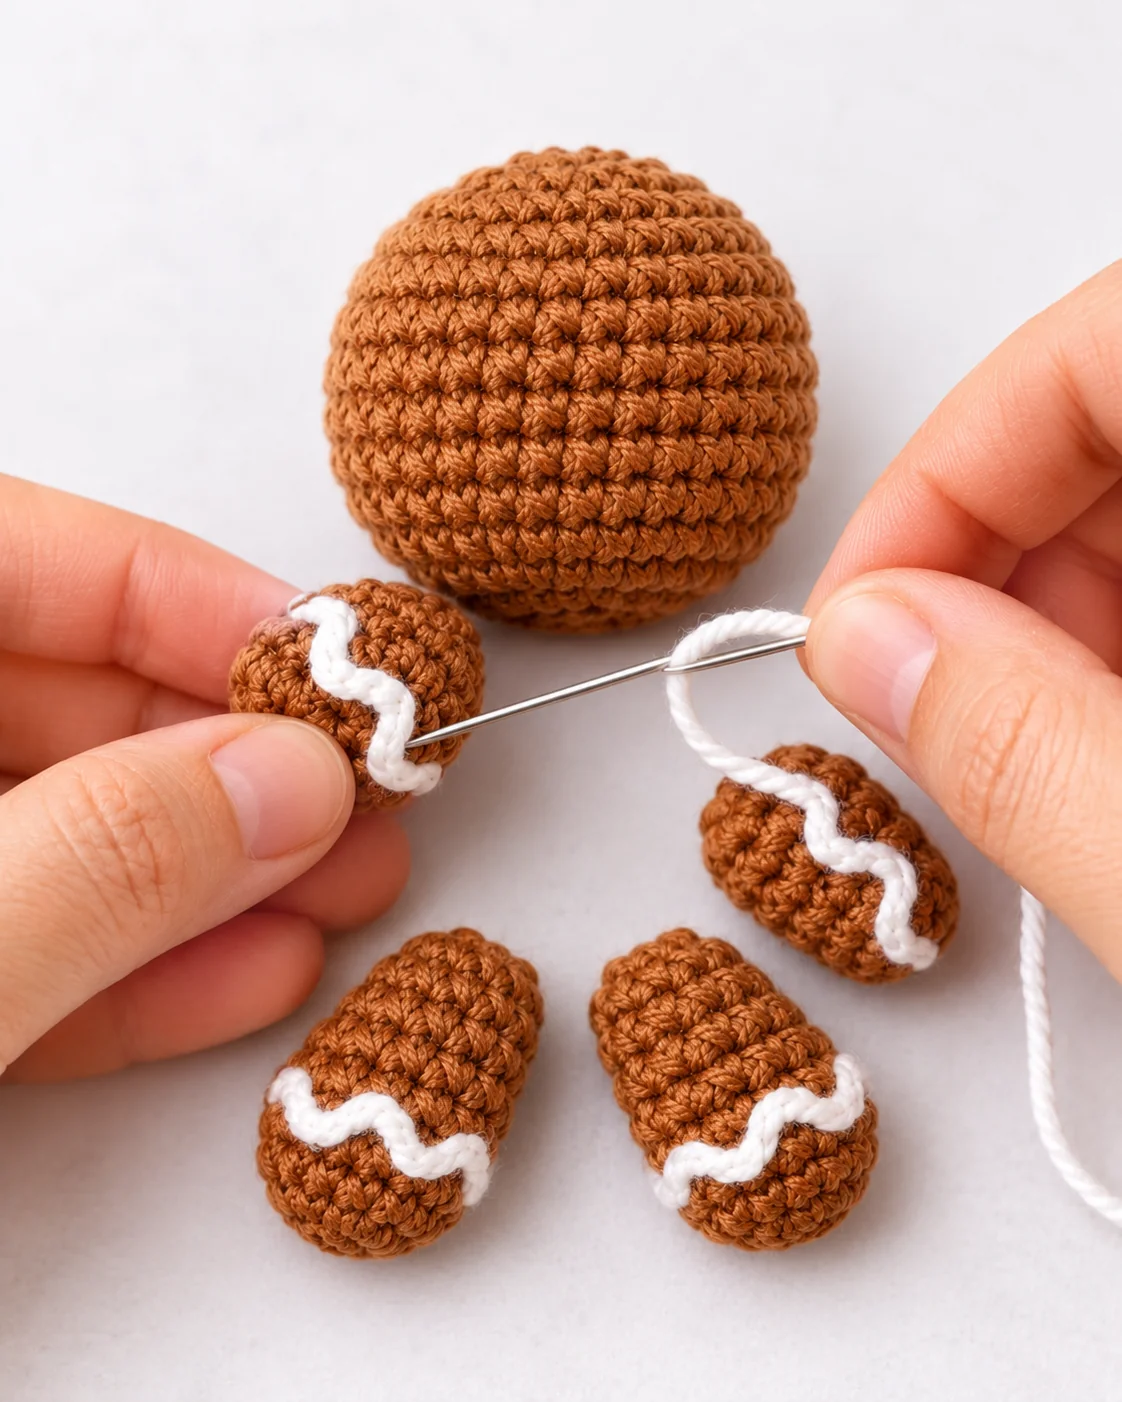
Use white yarn to embroider wavy lines on the head, arms and legs (or crochet chains and sew on — see the Small Icing Tutorial below). The wave is the gingerbread’s signature: keep the curves even and mirror the head wave on both legs for a professionally piped look.
Pro tip: pin the icing chain in place before sewing and check symmetry from arm’s length — waves are easy to nudge now, annoying later.
Step 5: Add Face and Details
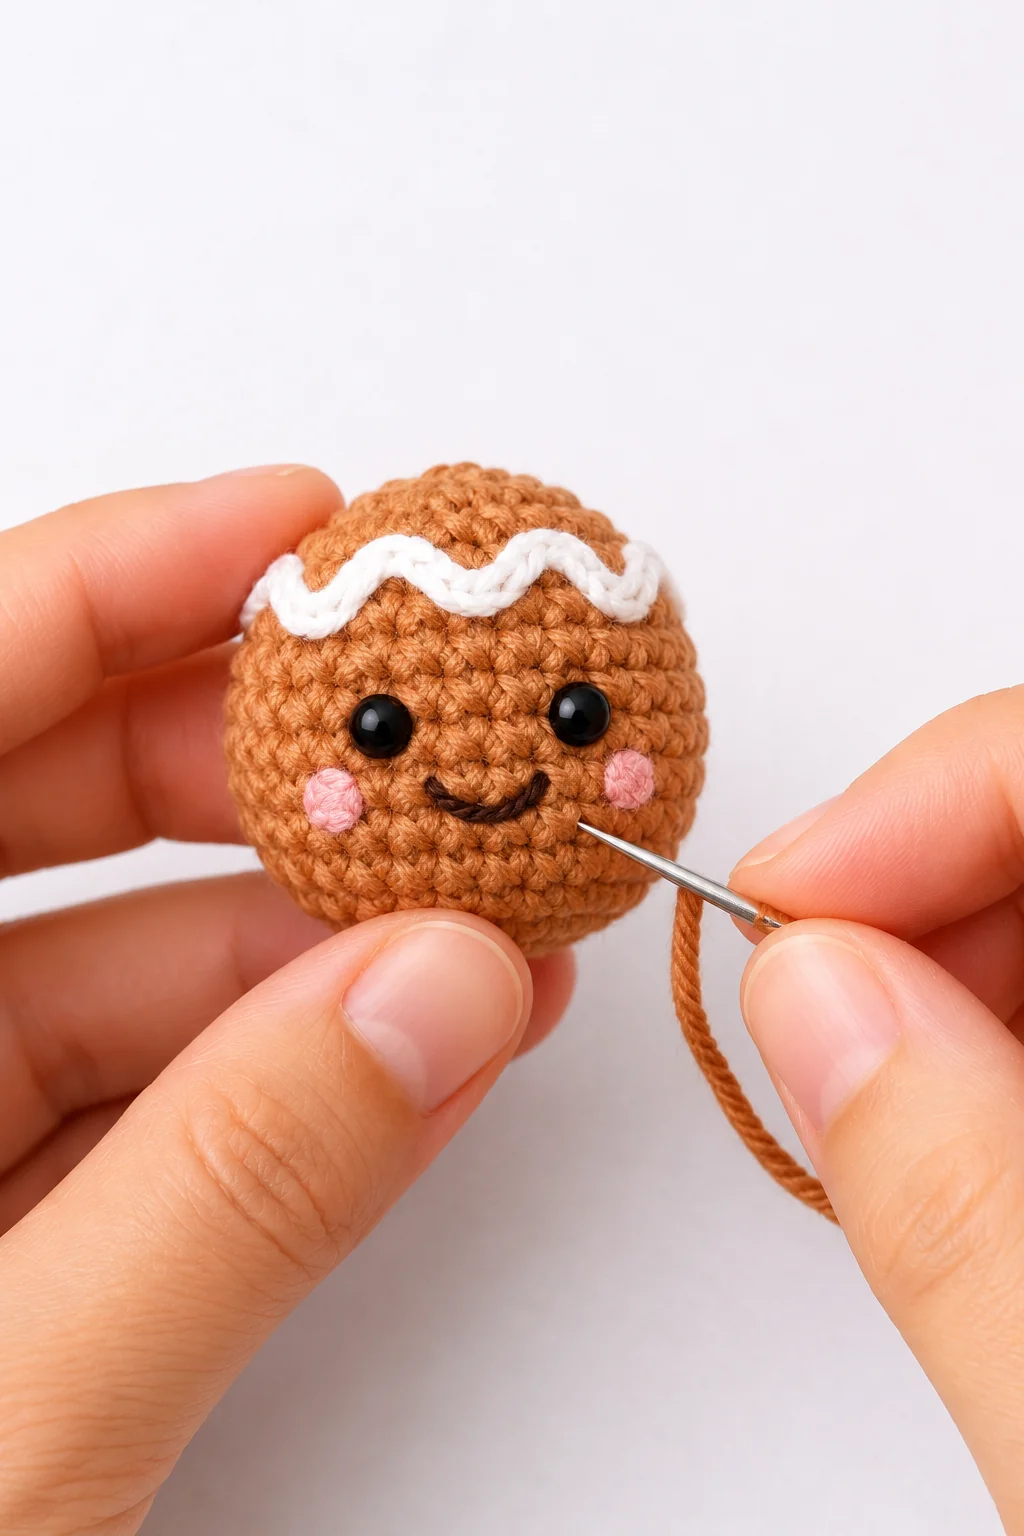
Attach safety eyes, embroider smile, add cheeks, sew on bow and buttons. Attach keychain. Place the eyes before stuffing is fully closed if your construction allows — 6 mm eyes sit between the head rounds with the icing wave above them like a hairline of frosting.
Pro tip: try different button colors! Red and green is classic, but white-and-gold or all-red sets each give the same pattern a new personality.
You Did It!

Congratulations on finishing your chubby little gingerbread keychain! Take a look at the final photo to compare your work’s overall shape and the close-up details of the icing and buttons. Your handmade holiday gift is now ready to be shared or displayed!
Assembly
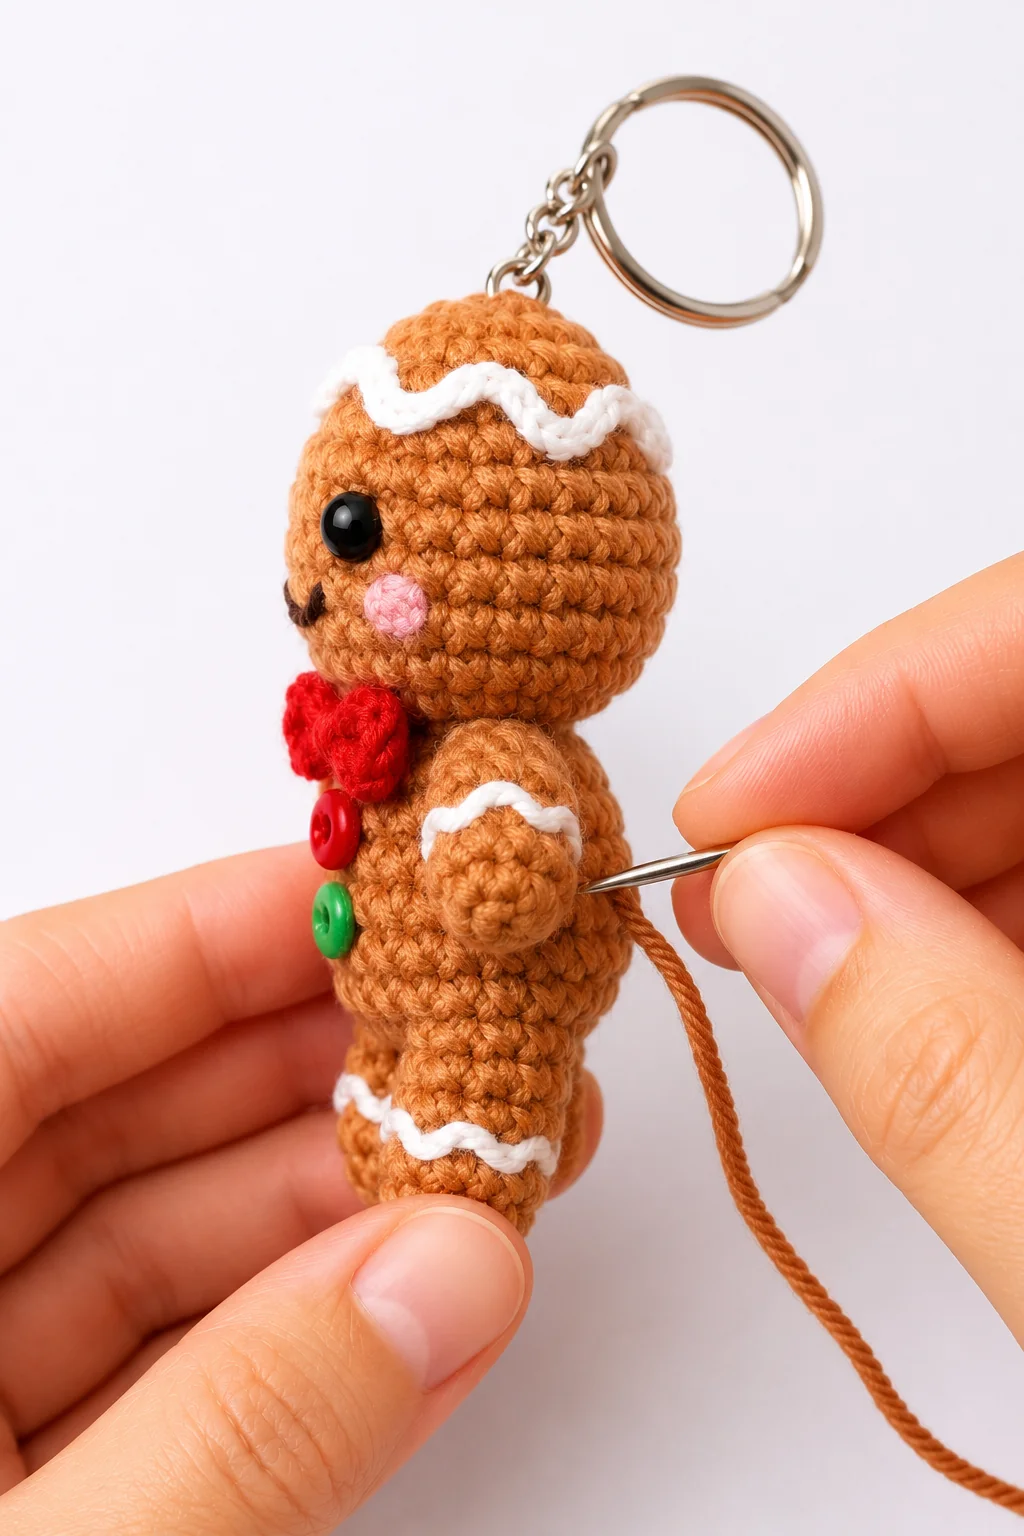
1. Crochet two body pieces (front and back).
2. Stuff and stitch the pieces together around the edge.
3. Sew on the bow, buttons and add keychain.
Side view — shows the thickness and shaping of the finished piece:
Small Icing Tutorial
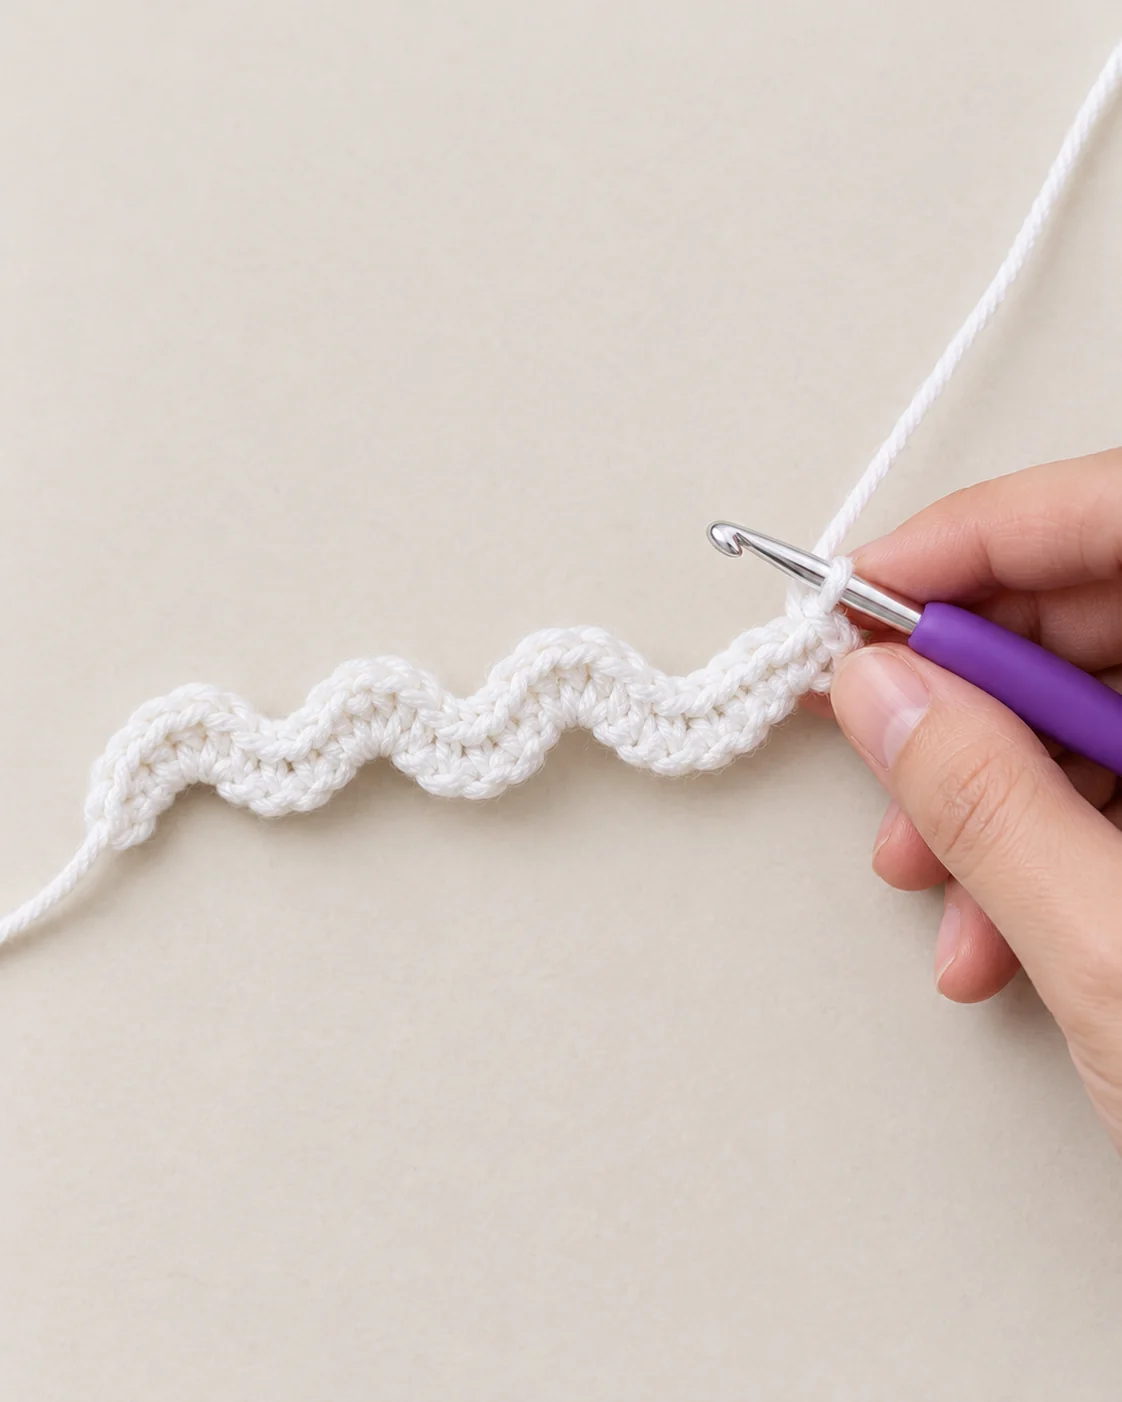
1. Make a chain of desired length.
2. Skip 1 stitch, sl st in next stitch.
3. Repeat to create a wavy line.
4. Sew the icing onto the gingerbread.
Project Facts at a Glance
| Skill level | Beginner to intermediate |
| Finished size | Approx. 6–7 cm (2.5–3 in) |
| Yarn | Worsted cotton (or acrylic), 5 colours, scrap amounts |
| Hook | 2.5–4 mm |
| Time | 60–90 minutes |
| Extras | 6 mm safety eyes, fiberfill, keychain ring |
Budget & Eco Alternatives
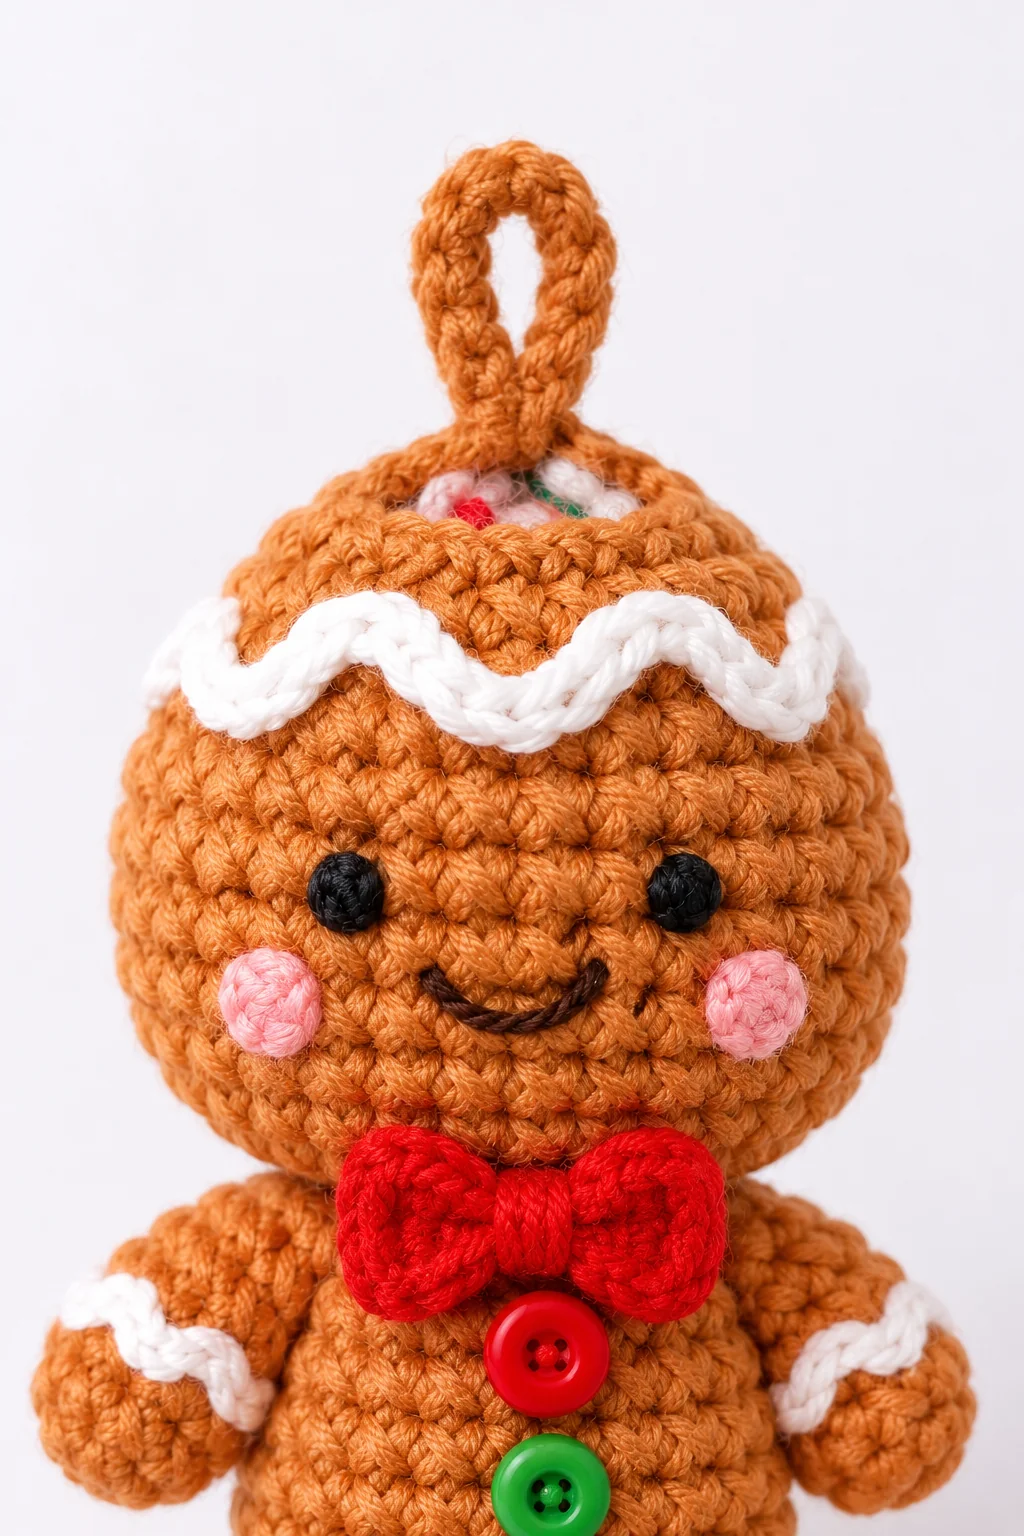
This is a true scrap-buster: the whole keychain uses a few grams per colour, so raid the leftover bin. Stuff with yarn ends and fabric scraps instead of bought fiberfill. Skip the purchased keychain hardware by crocheting a loop and clipping the piece to a bag zip with a carabiner you already own. Embroidered eyes and felt cheeks remove all plastic parts for a fully soft, baby-safe version.
Display & Gifting Ideas

It’s perfect for ornaments, keychains or small gifts: hang it on the tree by its ring, clip it to a school bag or purse, tie it onto a wrapped present as the tag-and-topper in one, or drop it in a stocking. A matching set — gingerbread boy and girl (add a skirt ruffle and hair bow) — makes an irresistible handmade gift pair.
Common Mistakes to Avoid

- Under-stuffing the head. The pattern says stuff firmly for a reason — a soft head collapses around the eyes and loses the chubby look.
- Over-stuffing the limbs. Arms and legs get only light stuffing, or they splay stiffly.
- Eyes placed too high or wide. Set them low and close for maximum cuteness; pin before fixing the safety backs.
- Uneven icing waves. Count your repeats so the wave rhythm matches on both legs and both arms.
- Loose keychain attachment. Sew the ring’s loop through several stitches at the head’s crown — it carries the whole piece daily.
Storing Tips
As a keychain it lives in daily use — check the ring stitching monthly and restitch at the first looseness. Spare or seasonal pieces store flat in a small box; surface-clean with a damp cloth only (safety eyes and stuffing dislike soaking). Keep away from prolonged direct sun, which fades red yarn fastest.
Tips (from the designer)
- Use cotton yarn for better shape.
- Stuff firmly for a nice, chubby look.
- Embroidery or crochet chains both work for icing.
- You can use felt cheeks instead of yarn.
- Try different button colors!
- Perfect for ornaments, keychains or small gifts!
Final Thoughts
Creating the most adorable keychain of the year requires only a red bow, a wavy chain of icing, and two small body sections. Subscribe for additional miniature patterns and share a picture in the comments after you crochet your first gingerbread!
Frequently Asked Questions
What are the dimensions of the completed gingerbread keychain?
Excluding the chain and ring of the keychain, the height is roughly 6–7 cm (2.5–3 inches).
Required Materials and Tools
Utilize a 2.5–4 mm crochet hook along with worsted weight acrylic or cotton yarn in green, red, white, brown, and pink (optional).
Estimated Completion Time
This project is ideal for a single evening, taking roughly 60–90 minutes to complete, assembly included.
Alternative options for safety eyes
You can use black yarn to create French knots or embroider the eyes instead. This method is the more secure option for toddlers and babies.
Gingerbread Assembly Process
The project begins with crocheting two flat pieces for the back and front of the body. After stuffing these sections, they are stitched together along the perimeter. The final steps involve attaching the icing, buttons, bow, and keychain.